

Welcome to Adam's Tasting Notes
A home baker's exploration of baking, recipes and the incredible world around us.

I’m so glad you’re here! This little newsletter has been a long time coming. Ever since my Mum and Dad handed me a copy of Kitchen by Nigella Lawson, I’ve longed to write about food. Though until now, I’ve always managed to prioritise a different creative outlet. Creating recipes on Instagram, going on a little show called The Great Australian Bake Off, or creating an interview podcast called Bakeology (more on the global third season below!).
I’ve loved all of these experiences and am so proud of what I’ve created and achieved. But through it all, that little writer in the corner of my mind has been patiently waiting for his time in spotlight.
I don’t know about you, but sometimes taking a chance and doing something you’ve dreamt about so long can feel quite terrifying. As culinary and baking icon Rachel Khoo says in the season 3 premiere of Bakeology, “life is all about trying things out, and not always succeeding.” It’s from these experiences that we learn so much.
And so the time is finally here to let my little writer in the corner join centre stage, which is how Adam’s Tasting Notes came to be. It’s my take on baking, food, and the incredible world around us.
On a fortnightly-ish basis you can expect articles that peer behind the curtain of my podcast Bakeology, delicious recipes, and other baking-adjacent topics I think you’ll enjoy or relate to.
Spilling the tea on Bakeology Season 3!
And wouldn’t you know it, the third season of Bakeology launched the same week as this newsletter. What luck!
I love exploring how food shapes who we are. Inspired by my own childhood memories of baking, I created my podcast Bakeology to use baking as a way to find out more about people and the food they love. Everyone has a story to tell, and what’s better than a story that comes with a side of delicious baking?!
This season of Bakeology explores baking and food on a global scale, focusing on bakes and conversations from around the world. Inspired by my trip to Europe with my partner Nick earlier this year (a la The National Lampoons European Adventure), I wanted this season to have the international flavour I was lucky enough to experience first-hand.

I’ll be joined by incredible guests from my home in Melbourne and across the world, each sharing the meaningful stories behind some of their most treasured bakes. Oh, and did I mention that much like the aforementioned Griswolds, there are episodes recorded on the road!?
And that’s not the only surprise on this season’s guest list!


Episode 1 (out now!) – Rachel Khoo – global best-selling author, TV producer, food writer and judge on the Great Australian Bake Off. In this premiere episode, Rachel reflects on her childhood baking inspirations, from London to Austria, making the leap from fashion PR in London to patisserie in Paris, and how she has applied this fearless frame of mind across her food career. We also couldn’t miss the opportunity to chat about The Great Australian Bake Off!
Episode 2 (release November 13) – Natalie Paull aka Beatrix Bakes. In this episode – Natalie’s first podcast - Nat talks about her early memories of baking, whether anyone can truly claim a recipe as their own, and shifting from business owner to cook book author. We also put classic Australian bakes head-to-head in the ultimate bakery showdown in Whisky Business.
Episode 3 (release November 20) – Emiko Davies – renowned cookbook author, food journalist and food blogger. In this episode, recorded at Enoteca Marilu in San Miniato (Emiko and husband Marco’s wine bar and cooking school in Tuscany), we discuss life in Italy, Emiko’s early food and baking inspirations, her love of Italian food, and why heirloom recipes are so important to staying connected to the past.
Episode 4 (release November 27) – Great Australian Bake-Off Season 7 finalists - I wonder who they will be?!
Episode 5 (release December 4) – Tomek Mossakowski - professional baker, writer and content creator living in Amsterdam, where this episode was recorded. Tomek and I discuss moving to and discovering a foreign city through its bakeries, food writing, and what life is like in Amsterdam.
Episode 6 (release December 11) – Secret Santa
You can listen to Bakeology on Apple Podcasts, Spotify and everywhere else good podcasts are found.
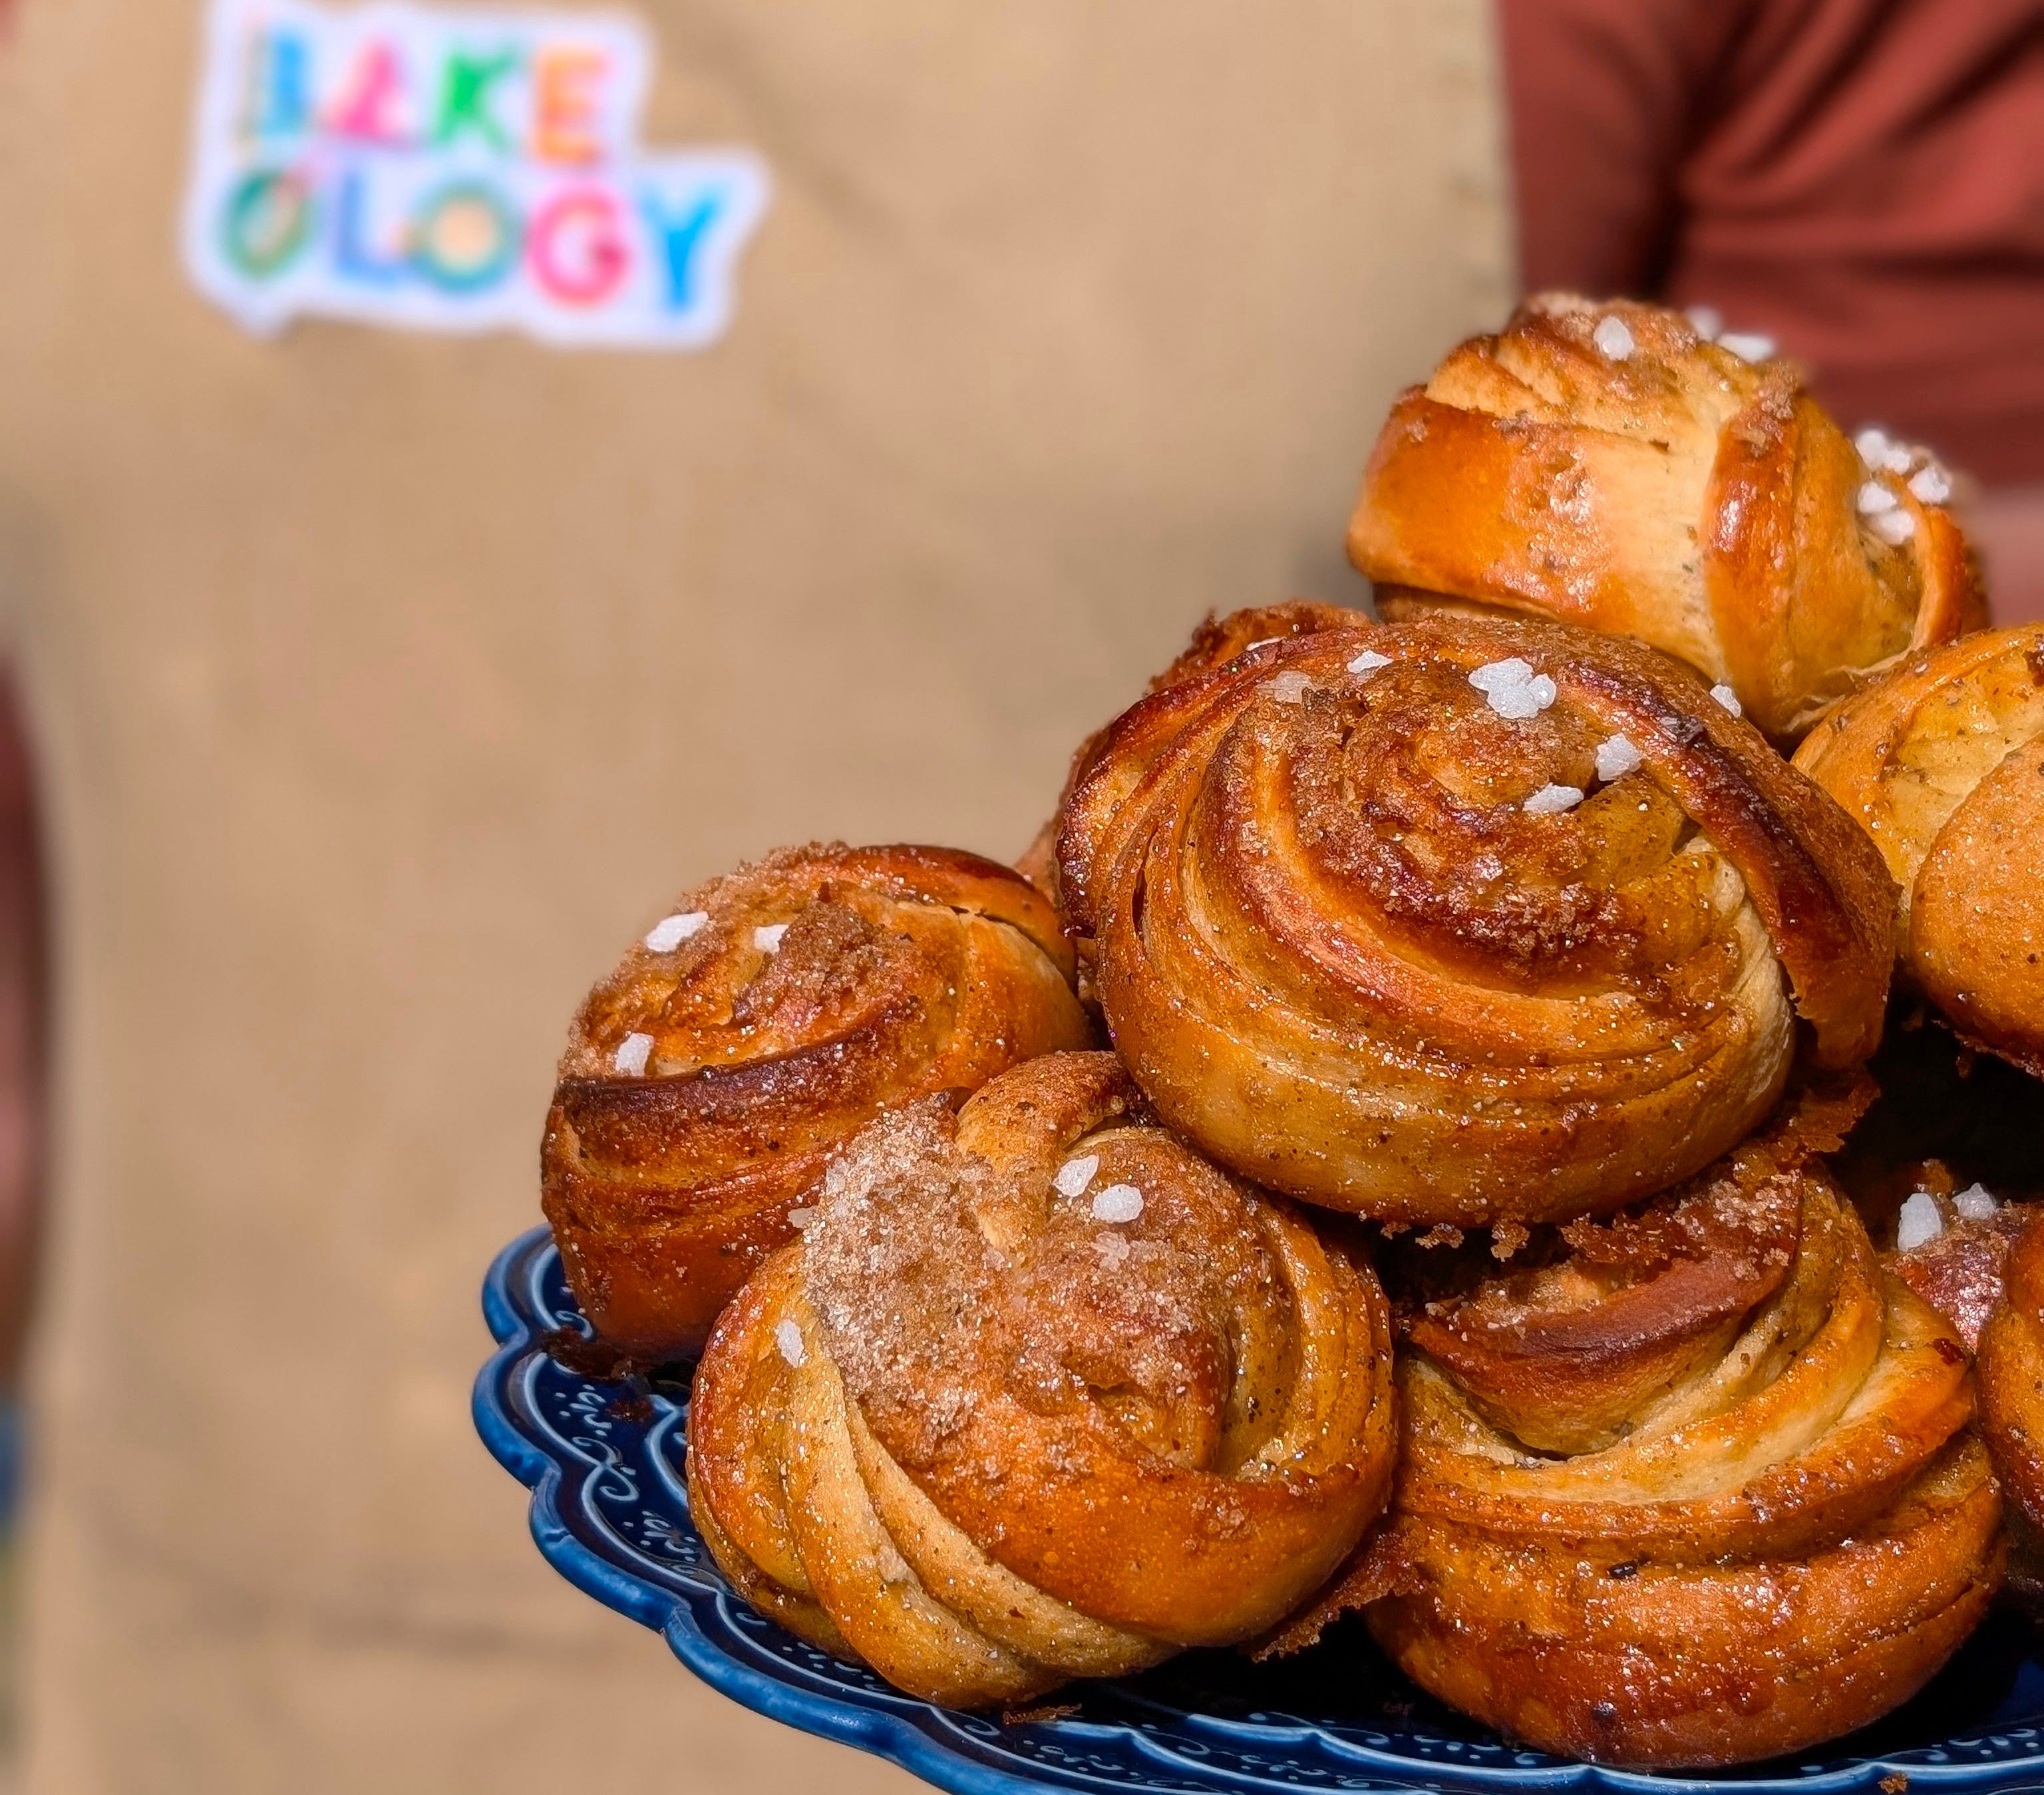
RECIPE - Cardamom Buns
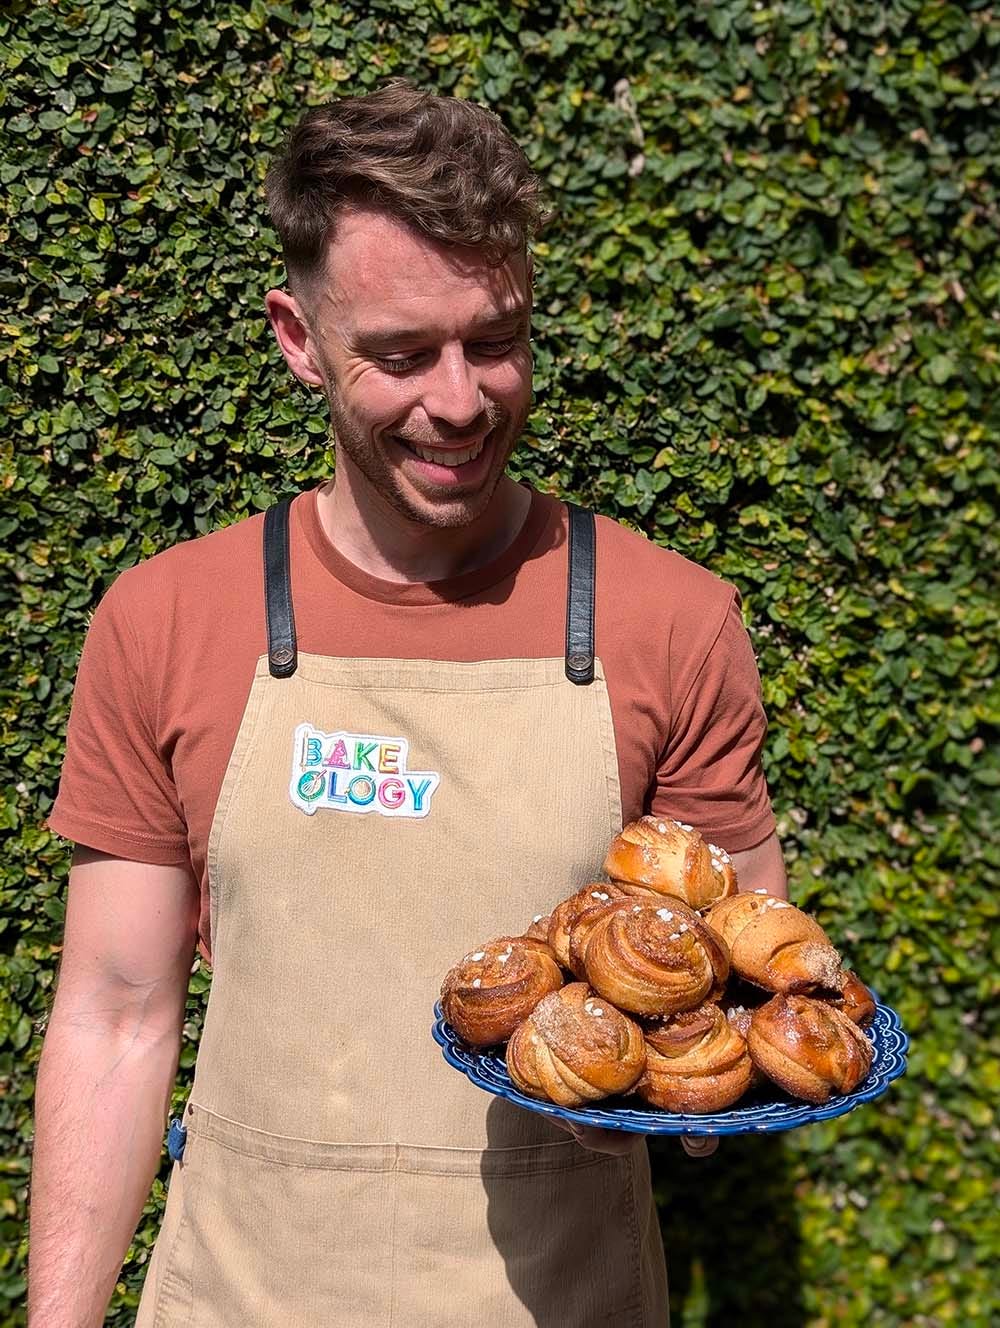
I have an eternal love of spices in baking. I’m yet to find a recipe that can’t be made more delicious with a hint of spice.
And when it comes to the genre of spiced buns, I can’t go past the Cardamom Bun. Nick and I spend five nights in Copenhagen earlier this year, and we made it our mission to see if the perfect cardamom bun really does exist. For me, they must have:
A beautiful golden, glossy bake on the outside, with a glaze that leaves you with the stickiest of fingers.
Soft, fluffy interior, like a cardamom-spiked cloud.
A crispy, caramelised bottom.
An excessive amount of cardamom. I don’t want to have to hunt for the cardamom flavour. I want it to hit me in the face like a tidal wave of spiced goodness.
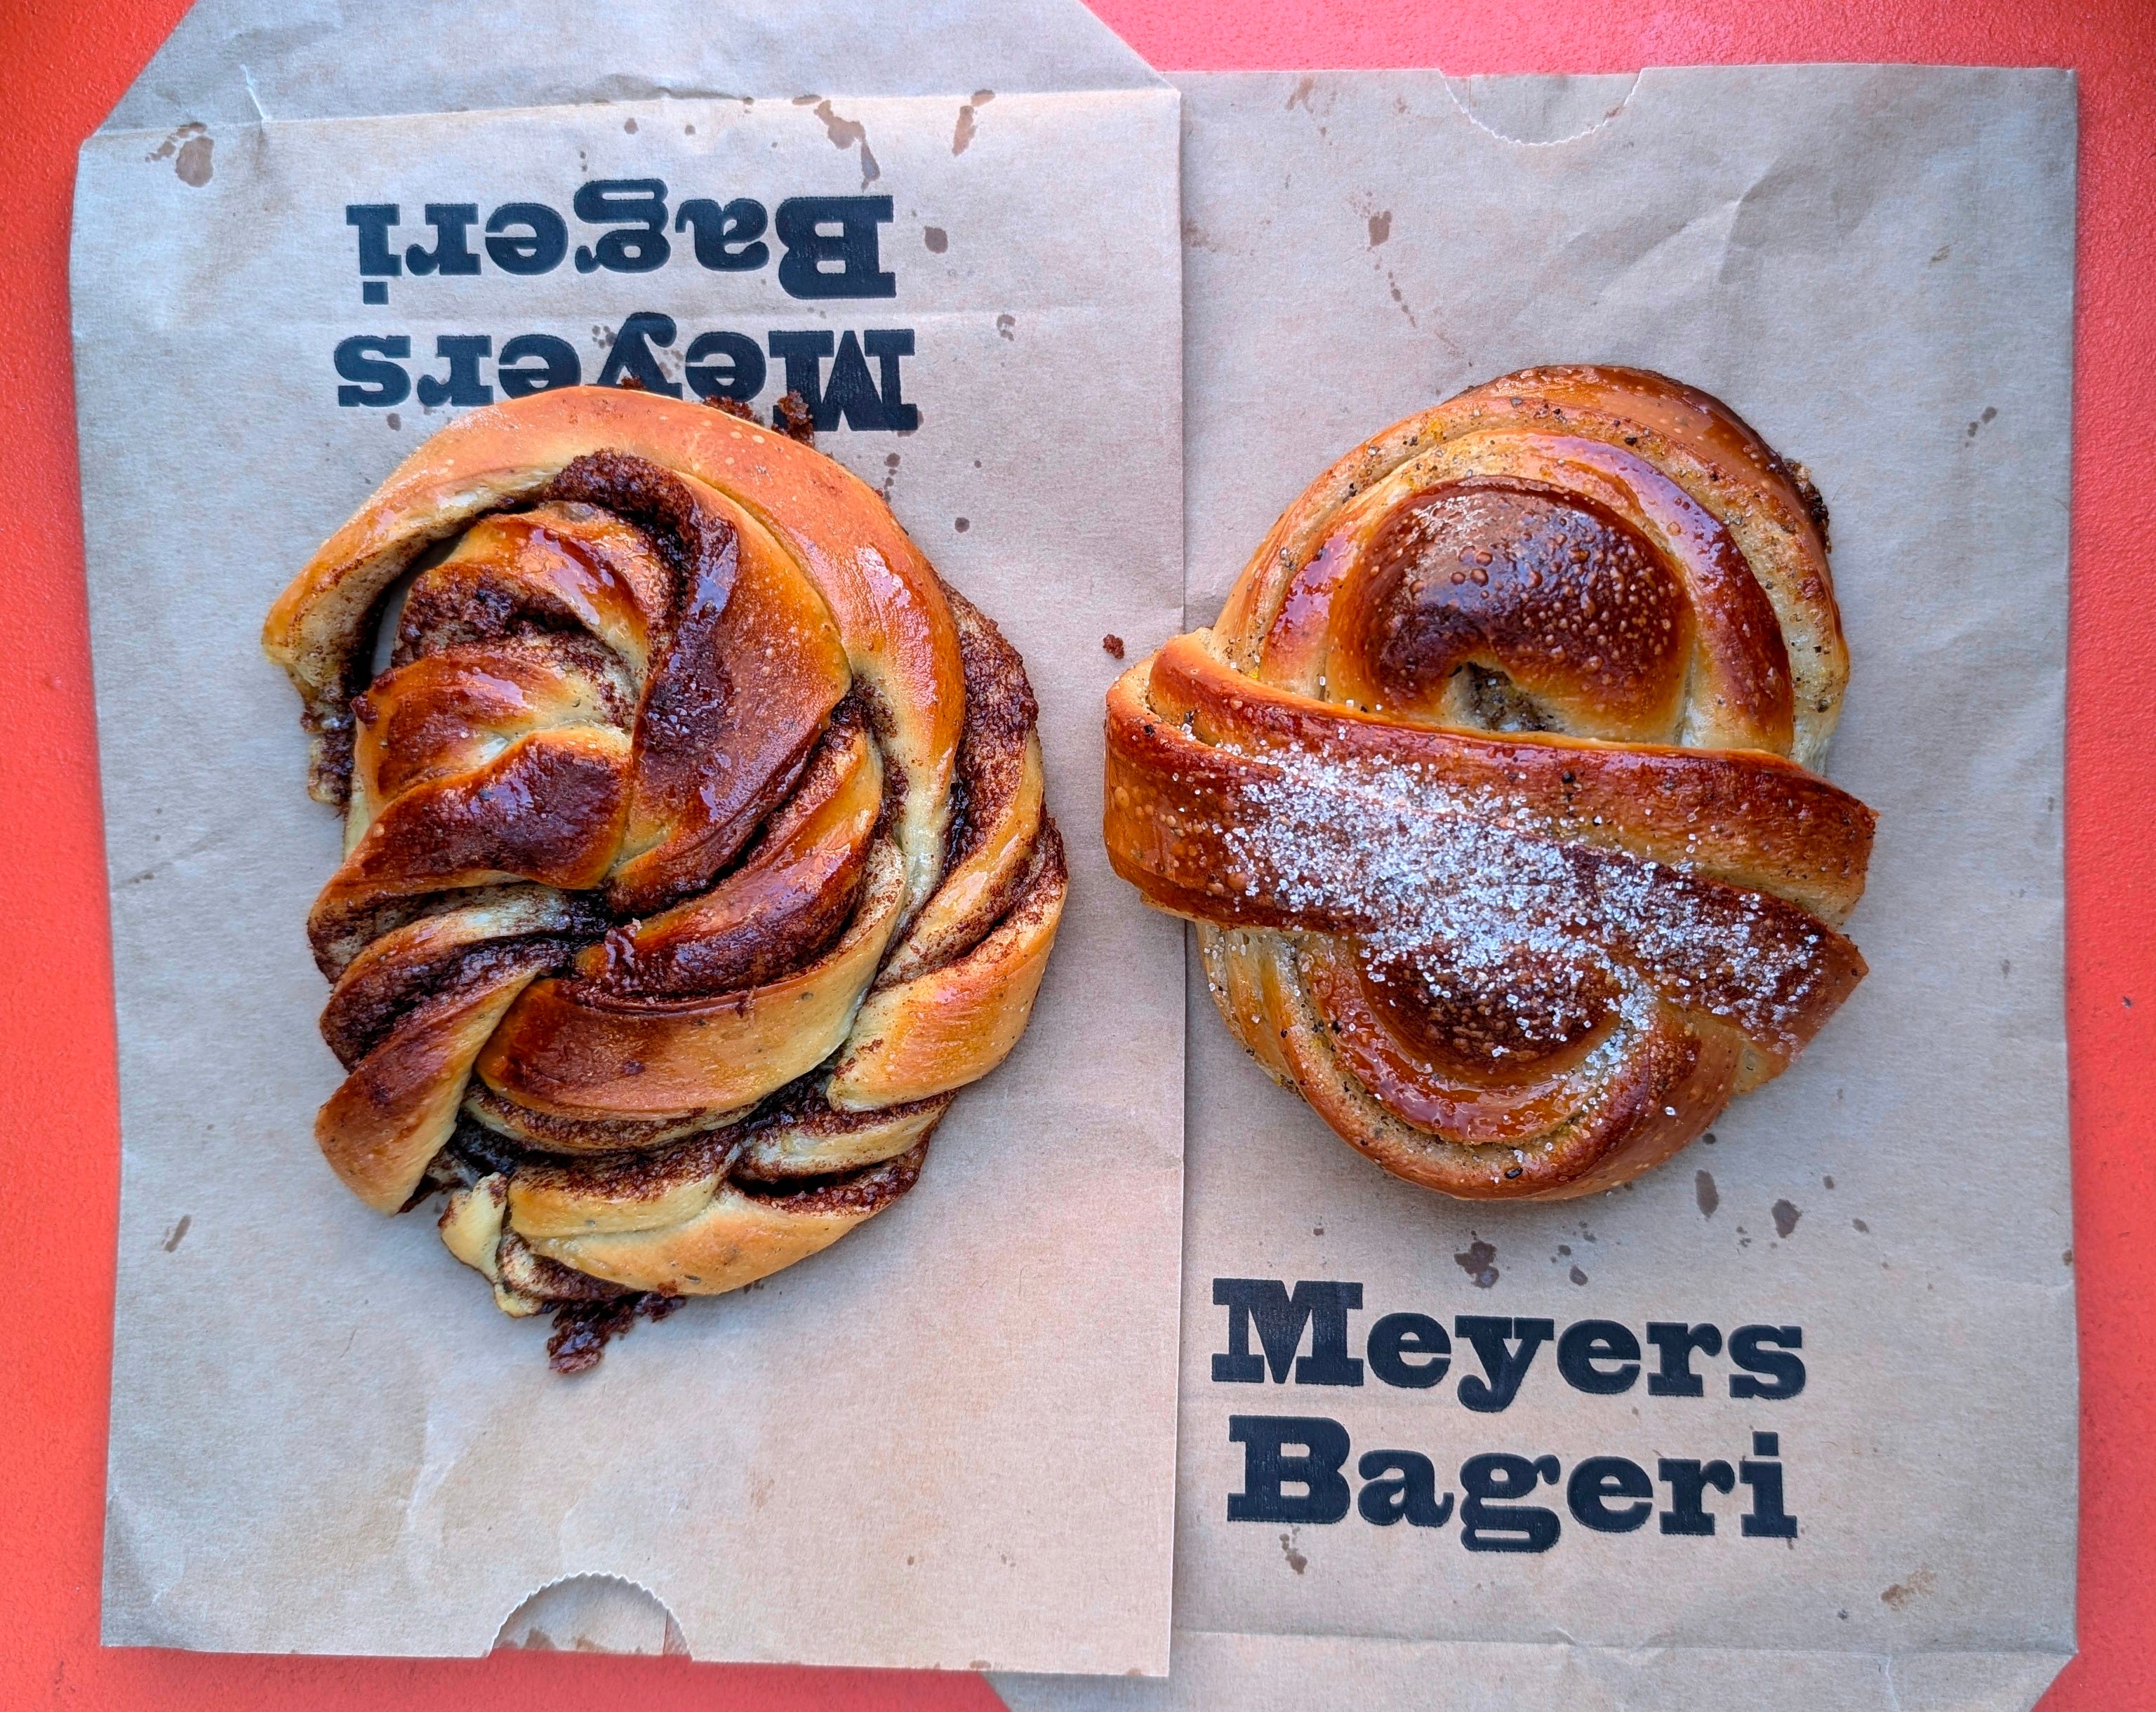
For those playing at home, our favourite bun in Copenhagen was from a gorgeous bakery cafe called Meyers Bageri, with an honourable mention going to micro-bakery Sonny.
And after my conversation with Rachel on Bakeology where she described the heavenly sounding cinnamon buns from LilleBrors Bageri in Stockholm where they:
“…slather [the buns] with butter, sprinkle cinnamon sugar, then roll it up, and knot it. Then they douse it with even more butter, bake it. Then the butter seeps down to the bottom with the sugar and the cinnamon, and it caramelizes at the bottom, creating this salty, spiced caramel at the bottom,”
I knew I had to recreate this magic for myself.
Armed with the memories of our Copenhagen Cardamom Bun quest, Rachel’s vivid description of the LilleBrors bun, and a full bag of cardamom pods and enthusiasm, I set off to create my perfect bun!
While researching and developing this recipe I came across two fantastic recipes by two doyennes of the Australian food scene – Karen Martini and Poh Ling Yeow.
Poh’s Cinnamon and Walnut Buns (from her book Poh Bakes 100 Greats) take advantage of an overnight prove in the fridge. This not only makes it easier for you to time your final bake time, but the dough is also much easier to handle straight out of the fridge. Rolling into the rectangle is a breeze, and because the dough is firmer than it would be if it proved at room temperature, the cardamom fillings is a breeze to spread over the rolled dough.
Karen’s Cinnamon and Cardamom Buns (from her book Cook) embrace a beautifully excessive amount of butter, which upon baking, help to create the golden, caramelised bottom I desperately wanted to recreate.
For the most intense cardamom flavour, I recommend buying cardamom pods and grinding the seeds yourself just before you’re ready to use them. If you can’t find cardamom pods, use the freshest packed of ground cardamom you have.
And one final note – bread has a mind of its own. You may think you’ve shaped the buns perfectly, only to find that in the oven your knotted bun has slightly uncoiled and bulged to one side. Please don’t fret – these buns are delicious whatever beautiful shape they take. I do encourage you to give the knot-shaping method a try, but you can always roll your strips into a spiral for an easier, and possibly more predictable, shaping experience.
INGREDIENTS
Dough
2 teaspoons of dried instant yeast
1 tablespoon of caster sugar
250ml warm milk (about 48 degrees C)
490g plain flour, plus extra for dusting
1 egg, room temperature
1 teaspoon salt
60g unsalted butter
1 tablespoon ground cardamom
Filling
200g unsalted butter
100g brown sugar
50g caster sugar
2 tablespoons ground cardamom
1 teaspoon sea salt flakes
Topping
1 egg, room temperature (for egg wash)
20g brown sugar
20g caster sugar
1 teaspoon ground cardamom
1/2 teaspoon sea salt flakes
Pearl sugar (optional)
METHOD
The day before you want to bake the buns, start the dough.
Heat the milk to around 48 degrees C (don’t be too concerned about getting this exactly right. You just want the milk warm enough to kick-start the yeast, but not too warm that it kills the yeast). Add in the sugar and yeast, whisk to combine and set aside for 10 minutes for the yeast to activate and make the mixture foamy.
Place the remaining dough ingredients into the bowl of a stand mixer with the dough hook attached. Add the activated yeast mixture into the bowl with the other ingredients and knead on low (speed 1 on a KitchenAid) for 2 minutes. Increase the speed slightly (speed 2 on a KitchenAid) and continue kneading for about 5 minutes, before notching the speed up once again (speed 3-4 on a KitchenAid) for another 5-10 minutes until the dough is stretchy and glossy.
Place the dough in a medium bowl that has been lightly greased with oil or butter. Cover the bowl with a shower cap or plastic wrap and leave to prove on the bench for about an hour. Then place the bowl in the fridge overnight to prove.
The following day - aka the day of baking
Prepare the filling by placing all the filling ingredients into a bowl and mix together with a wooden spoon until fully combined.
Tip the chilled, overnight-proved dough onto a lightly floured bench and roll out into a rectangle roughly 45cm x 35cm. Spread the prepared filling over the entire surface of the dough.
With the long edge closest to you, fold one of the short edges over two-thirds of the filling. Then take the other edge and fold over the top of the first fold. This is called a letter fold.
Keeping the rectangle shape, gently roll the dough to about 2cm thick. Use a pizza cutter or a sharp knife to cut the dough into 2cm strips.
To shape the buns, take one strip of dough and gently stretch it out to almost double its original length. Next, coil the dough twice around your index and middle fingers, then take the last section of the dough over and between your fingers, tucking the end underneath and sliding the dough off your fingers at the same time (check out this reel on my Instagram to see this step in practice).
Place the shaped bun onto a baking tray lined with baking paper. Repeat with the remaining dough strips. Cover the trays with clean tea towels and prove for 1-2 hours, or until the buns have just about doubled in size.
Preheat your oven to 230 degrees C.
For the topping, whisk the egg and brush each bun with the egg wash. Mix together the remaining topping ingredients (other than the pearl sugar) and sprinkle over the top of each bun.
Bake the buns at 230 degrees C for 10-12 minutes. Reduce the oven temperature to 180 degrees C, and continue baking for 7-14 minutes until the buns are a deep golden brown and the sugar and butter on the tray has caramelised.
Sprinkle the buns with pearl sugar (if using) and leave the buns to cool on the tray for about 15-20 minutes so the buttery caramel has a chance to harden slightly.
These buns are best eaten on the day they’re baked, while they’re still warm. Store any leftovers in an airtight container for up to two days.
Before you go, let’s take a moment for ourselves
In this fast-paced, algorithm-driven world, I hope that Adam’s Tasting Notes will grow into a place where you and I can slow things down. As Rachel said in the season premiere of Bakeology, “life, it goes past so quickly.” Its the moments of stillness where we give ourselves the space that we can truly appreciate life and what we enjoy. As we get to know each other and I grow as a writer, I hope that this newsletter becomes our little space on the internet to share thoughts and experiences while we have a closer look at the delicious things we love.
With that in mind, please do reach out in the comments section, via email or on Instagram and let me know what you think about things I write and bake. These posts are for you, as much as me, after all!
Stay sweet.
Adam x
This is not fair. Now I'm missing the Stockholm buns from when I was there. Thank you for the recipe. I'll pass it on to the baker in my household and see what happens. :)
Hi Adam,
I live on the other side of Oz, always experimenting with dough-things. These buns sound amazing and I look forward to making a batch! I find having to go to work 3 days a week interferes with baking, but will hopefully rectify that mid next year by retiring 🤣.
Thanks for your writing!