Is there salt in this?! Part 2
How to use salt within and outside a bake, and classic choc-chip cookies.

Welcome back to my Seasoned baking mini-series, for part 2 of ‘Is there salt in this?!’ In part 1 I wrote about why we use salt in baking. In summary – salt brings order and focus to flavour and sweetness in our bakes.
Today I wanted to talk about how I like to use salt in my baking. When you’re making a cake, biscuit, slice, tart (or pretty much any bake!) there’s opportunity to season your bake before and after its baked.
Seasoning from within
This was another lesson from Salt Fat Acid Heat by Samin Nosrat that changed how I cook. Seasoning from within is all about using salt at the right time when you’re preparing food to give it the best chance of enhancing flavour and texture. One example Samin uses is seasoning a roast chicken. If you sprinkle your whole chicken with salt the morning you plan to roast it (or even the night before, if you’re particularly organised) the salt has time to defuse through the meat. This makes the chicken tastier and more tender simply for the fact that salt has been given the time to work its magic within the chicken.
It’s the same when you’re blanching your greens. Broccoli or beans, for example, blanched in salted water will be more vibrant and flavourful than beans blanched in unsalted water. You’ll have to check out the book for the science behind this (see osmosis for the chicken, and nutrient balance for the greens), but try it and let your tastebuds be the judge.
When it comes to baking, salt can be used in a similar way. That lil-teaspoon of salt tucked away in the dry ingredient list plays a big role in amplifying the flavour in your cakes, biscuits, breads and more. If you come across a baking recipe (or any recipe for that matter) that doesn’t include salt, take a moment to think about whether it would benefit from adding some. If salt or seasoning isn’t being added in another way (with salted butter, miso, or soy, for example) your bake will likely benefit from a little spoonful of the good stuff before baking.
One thing to keep in mind, however, is when you add your salt. This is because salt doesn’t just enhance flavour, it also strengthens gluten. This matters because sometimes we want to minimise gluten development (in cakes, for example), while other times we want to encourage gluten development (in bread).
If you’re baking a cake or something you want to be nice and tender, add the salt with the dry ingredients in the final steps before baking. You’ve no doubt seen the instruction in a cake recipe to ‘mix until just combined’? We do this because an over-mixed cake becomes dense, as more gluten develops the more you mix. So adding salt at the end and mixing the batter as little as possible in the final stages will result in a beautifully tender and flavoursome cake.
But when it comes to bread, we want to encourage gluten development. So add the salt early to help you to develop that glorious gluten as you knead that dough for 10-15 minutes!
Seasoning on the outside

But it doesn’t stop there. You can also channel your inner salt bae and sprinkle finishing salt on the outside of your bakes for a final hit of salt. Unlike salt inside a bake which has time to quietly do its work behind-the-scenes to make flavours shine, salt on the outside of a bake is there to be noticed - both visually and when you take a bite. It’s the Marcia Brady of the salt family.
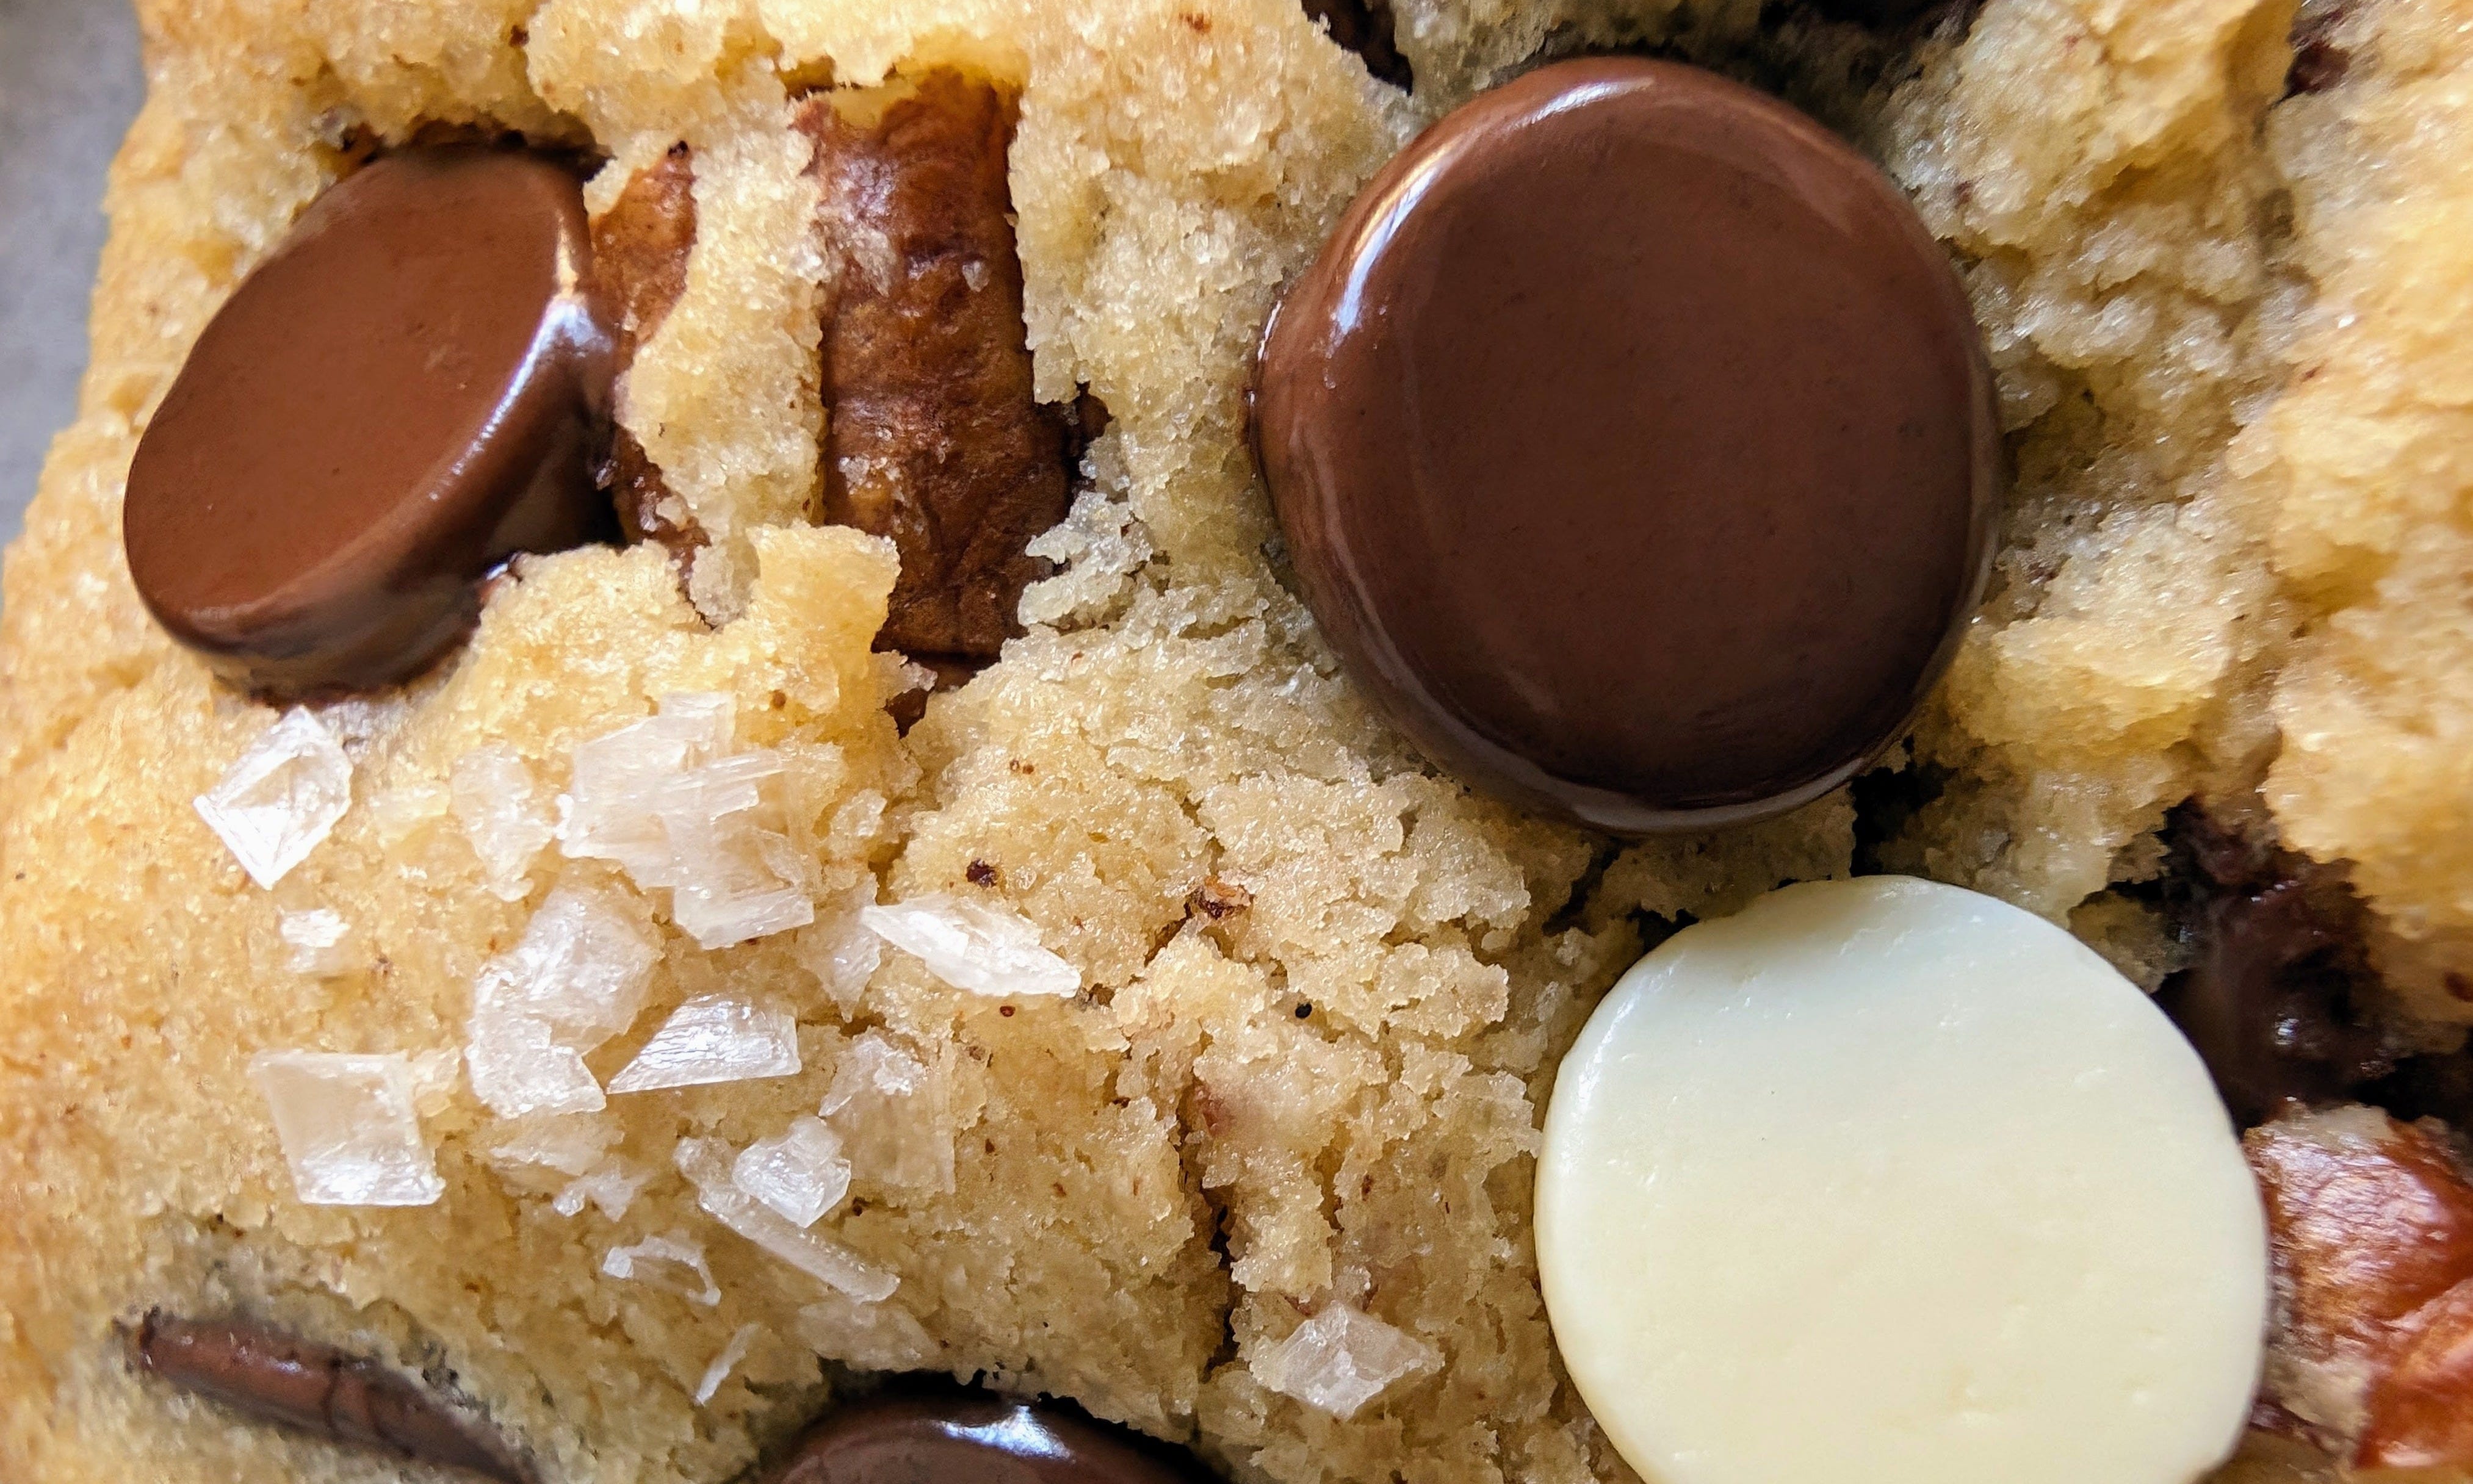
Take the choc chip cookie recipe below, for example. I’ve used fine-salt in the dough, but specified sea salt flakes on the outside for their texture and good looks. The larger flakes of salt are perfect for gaily scattering across (or in the biscuits below, dabbed into) the surface of a bake in a random and uneven fashion. This intentional randomness is important because you want those little hits of salty goodness to land unexpectedly on your tongue. Fine salt on the outside would cover the surface too evenly resulting in a one-note layer of salt that will very likely over-salt your bake.
It’s these little flourishes that will take your bakes from good to “OH! SO GOOD!” So next time you’re perusing the salt options at your supermarket, make sure you pick up some sea salt flakes to add to your baking arsenal.
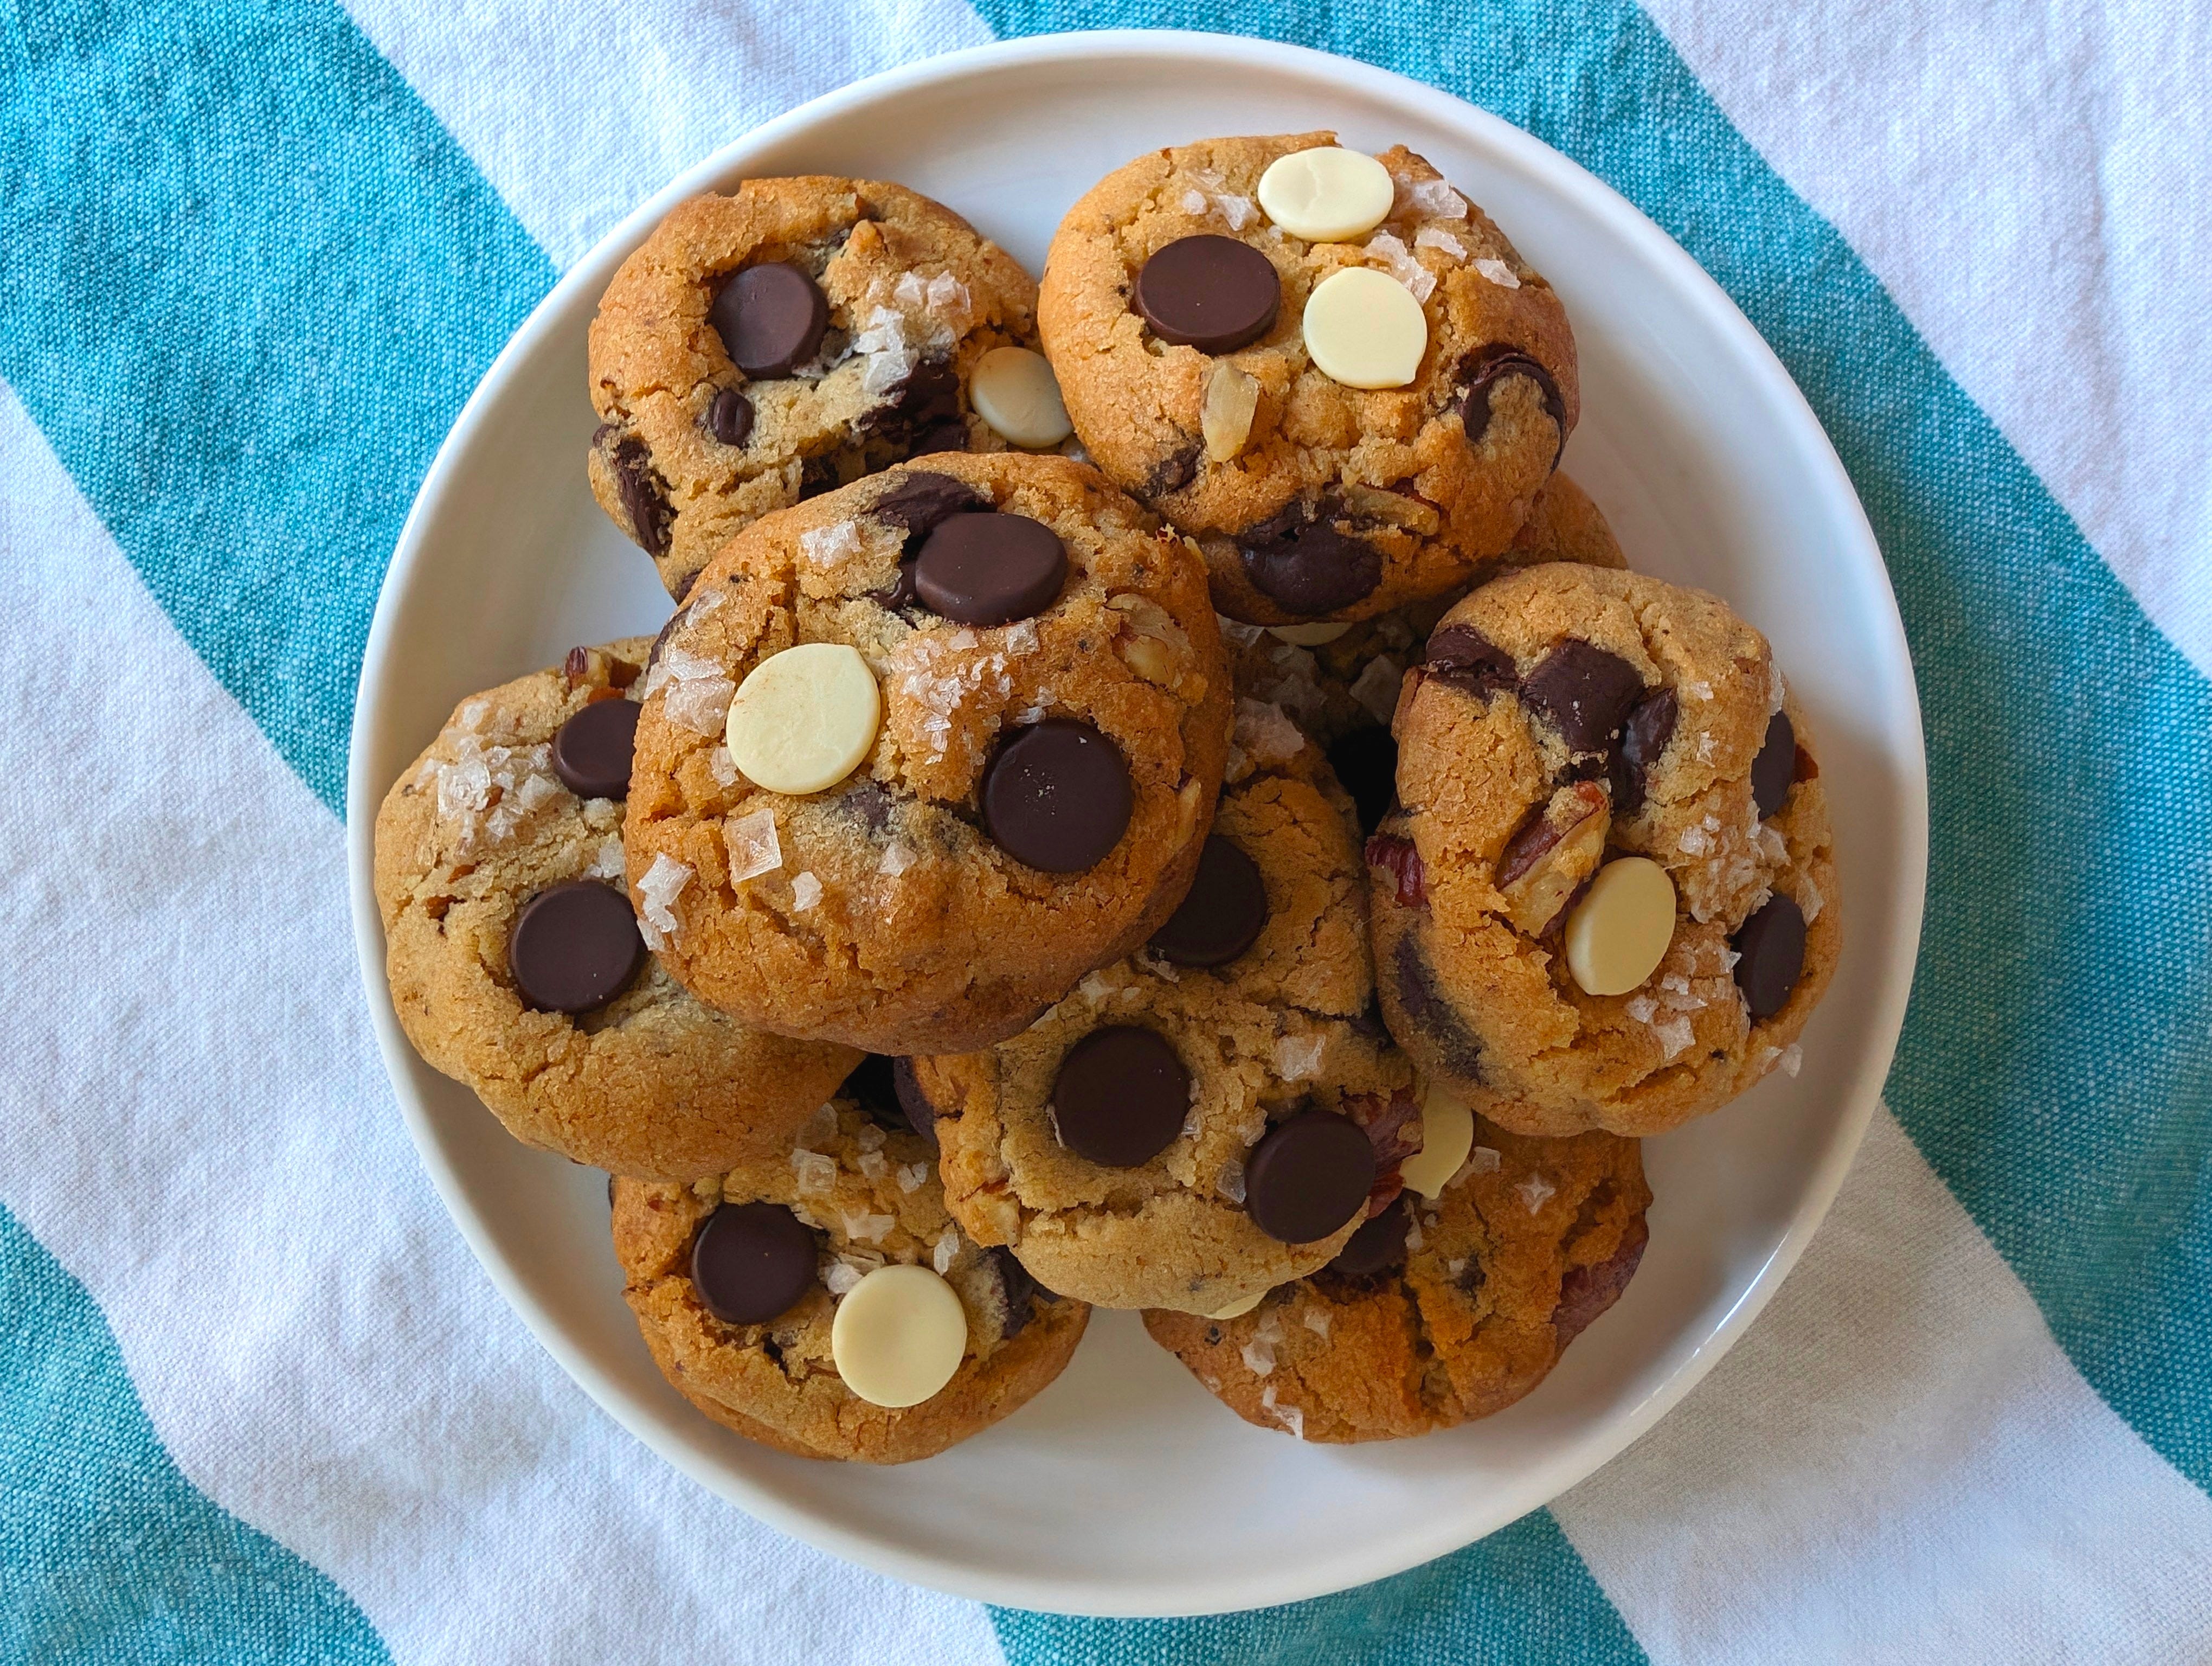
Recipe - Classic Choc Chip Cookies (from the archives!)
I’m currently eating my way around Sri Lanka (don’t worry - food and travel updates are loading!), so I thought I’d share a recipe from the archives to demonstrate salt being used inside and outside a bake.
Chocolate Chip Cookies are eternally on trend. I’m sure they’ve gone through almost as many eras as Madonna or Taylor Swift. From classic, to giant, skillet, levain, and even pots (thanks Nigella!)!
Throughout all their delicious iterations, I’ve always been drawn back to the classic version my Mum would make from the Australian classic cookbook – the Women’s Weekly Big Book of Beautiful Biscuits. These biscuits were a fixture in my house growing up in the 90s, alongside my other favourite from this book - the peanut butter crinkle.
Inspired by these memories from a simpler time, I’ve taken this treasured recipe and used it as the base for my very own chocolate chip cookies. A remix of a classic.
Like the classics that inspired them, these are smaller than most cookies you see today and, controversially for some, they also include nuts. You can leave these out, but for me the nuts add a much-needed texture and flavour contrast to the chocolate chips.
There are two other magic ingredients in these cookies – browned butter, and sea salt flakes. Together, they add so many layers of interesting flavour that make these so exciting to eat.
My final word of advice is to rest the dough overnight. This simple act of patience will take your cookies to a scrumptious new level. It gives the dough a chance to develop its flavours and hydrate the dry ingredients resulting in a more complex and delicious biscuit. While you wait, why not check out the reel I made for these too!
Ingredients
200g unsalted butter, to create 135g of browned-butter
100g caster sugar
120g light brown sugar
1 egg, room temperature
½ teaspoon vanilla extract or paste
A significant pinch of fine salt
250g self-raising flour
140g dark chocolate chips, plus extra for decoration
60g pecans, roughly chopped
A small bowl filled with sea salt flakes, for dabbing the cookie dough balls in
Method
Make the browned-butter
Dice your butter into rough cubes and put in a medium saucepan. Place on medium/low heat and stir until it melts. Stir the butter occasionally as the butter browns – about 10 – 15 minutes. Here are the stages your butter will go through:
The milk solids will start to separate, and you’ll start seeing white dots bubble and simmer to the surface.
The butter will then start to boil and foam. Remember to keep stirring every minute or so.
As the butter continues to brown, the foam will subside and continue to boil. Again, remember to keep stirring every minute or so.
After a few minutes, the butter will start to foam up again in a more dramatic way than it did before. Browned, caramelised milk solids will start to emerge on the surface of the foam like a gently erupting volcano. This is when you immediately take the butter off the heat.
Carefully pour into a heat-proof bowl and leave the butter cool on the bench. You want the butter to be cool and the consistency of a thick buttercream before proceeding with the rest of the recipe.
To make the biscuits
Using hand beaters or a stand mixer, cream the browned butter and sugars together in a large bowl until light and creamy. Add the egg and vanilla and beat until well combined.
Add the flour and salt and slowly beat until almost combined. Add the chocolate chips and chopped pecans and beat on low until fully combined and the chocolate and pecans are evenly distributed.
Roll generous teaspoon-sized portions of the dough into balls and place on a lined baking tray. If you can, cover the dough balls with plastic wrap and rest in the fridge overnight (or up to 3 days) before baking. The flavour enhances as the dough rests, so you’ll reap delicious rewards for your patience! If you have a cookie emergency and need to cook these on the same day, rest the dough in the fridge for at least 20 minutes.
When you’re ready to bake, preheat your oven to 170 degrees C. Gently dab each dough ball into the small bowl of sea salt flakes and then place on a lined baking tray, leaving 3-4cm between each ball.
Bake the biscuits in the pre-heated oven for 12-18 minutes, or until golden brown. Once baked, immediately stud each cookie with some extra chocolate chips, and then leave to cool on the tray for 20 minutes before transferring to a cooling tray to cool fully.
Store in an air-tight container at room temperature for up to 5 days.
Until next time, stay sweet (and seasoned!)
Adam x
PS - I can’t wait to share my tales of Sri Lanka with you!